Installing INKY for a customer organization
The key procedures include generating a license and installing INKY in the client's email platform.
Written By Eric Heller
Last updated 3 months ago
Generating a license
On the top navigation bar, click Partner Center.
In the left navigation menu, click Generate License.
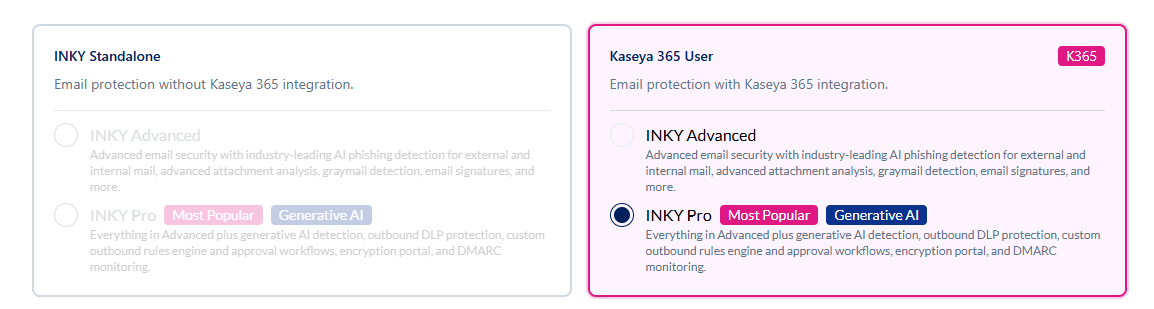
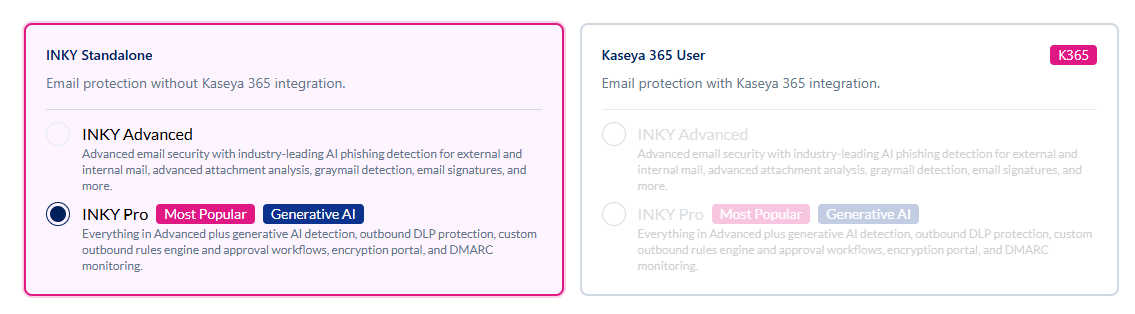
Choose the applicable email security package. In the Kaseya 365 User card, INKY Pro is selected by default.
IMPORTANT: If this package does not match the customer’s subscription, be sure to select the correct email security package. Billing is based on the security package selected.
If the customer purchased an INKY Standalone subscription:a. Hover over the INKY Standalone subscription card and click to select it.
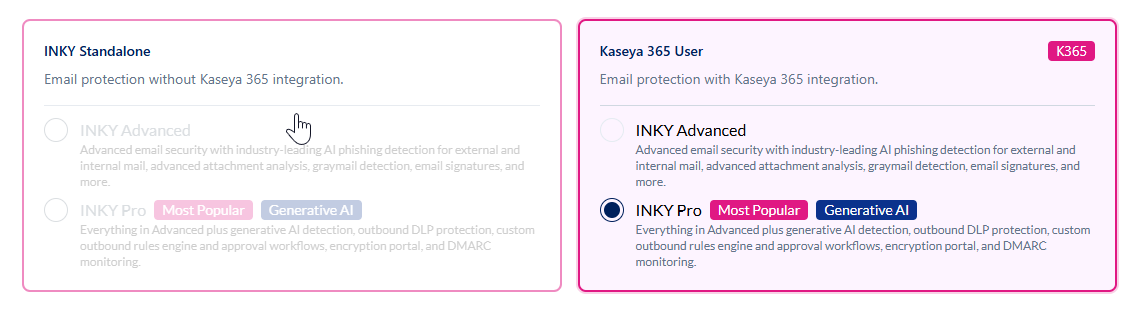
b. INKY Pro is selected by default. If the customer has purchased an INKY Advanced subscription, select INKY Advanced.
Choose your organization’s email platform.
Complete the following fields:
Domain: Enter the primary domain for this installation. INKY automatically detects and protects additional domains on the same tenant.
Tenant Administrator Email: The administrator must belong to the same tenant as the domain entered above. The administrator’s email address is used for authentication during setup.
Team Label: Enter a friendly name for this customer (typically the company name).
Team ID: Auto-suggested based on your label. You can customize it for organizational purposes.
Click Generate License Key. Once the license is successfully generated, you’ll see a confirmation page with a direct link to the Team Setup Page.
Click the direct link to the Team Setup page.
Installing INKY in the client’s email platform
Next, you will install INKY in the client’s email platform. Follow the guide for your client’s environment: